Resources
We have curated Insights, Case Studies, Images, Documents, and Videos to give you a sense for who we are, what we do, and how we can help.
INSIGHTS + UPDATES
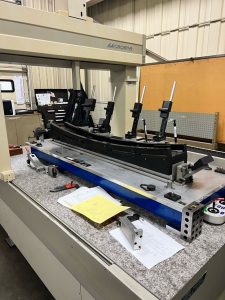
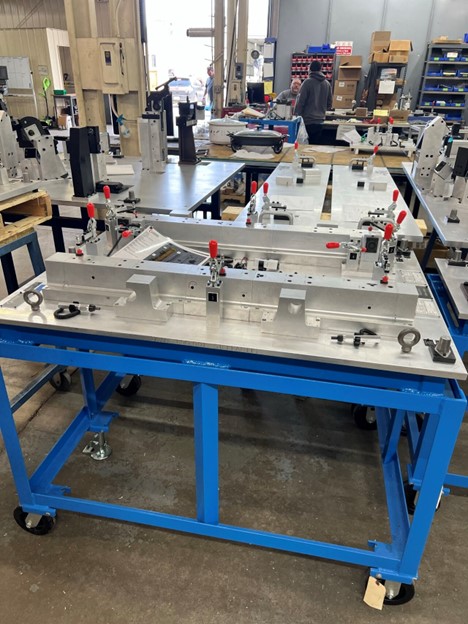
Three CMM Work Envelopes for Accurate Layout and Certification
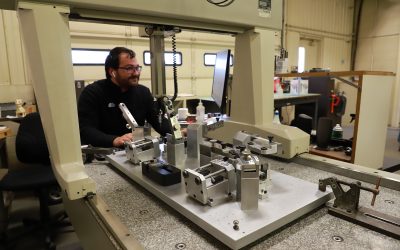
Component Engineering recently invested in a large CMM Work Envelope to meet the needs of our automotive customers super-sized checking fixture needs. With that addition, we're now ready and able to handle some of your largest checking fixture footprint needs. In...
Component Engineering and West Michigan Gage are joining together.
Component Engineering and West Michigan Gage are joining together to meet a broader range of customer needs across multiple industries. Component Engineering and West Michigan Gage are both established and respected West Michigan quality inspection solutions providers...
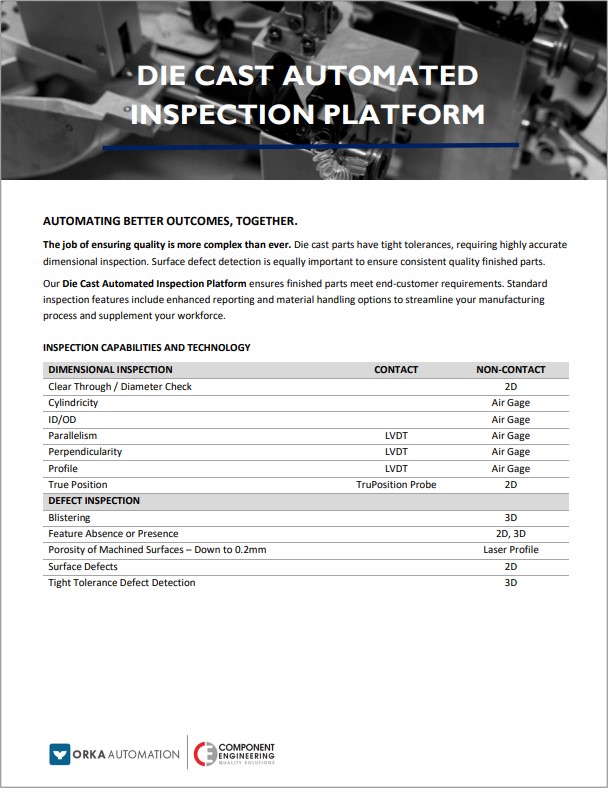
Air Gage Inspection for Die Cast Applications
Air Gage technology has been around since pre World War II, but it still makes great sense today if you need a simple non-contact quality inspection option that works across metallic and non-metallic materials, is repeatable, and measures to extremely tight tolerances...
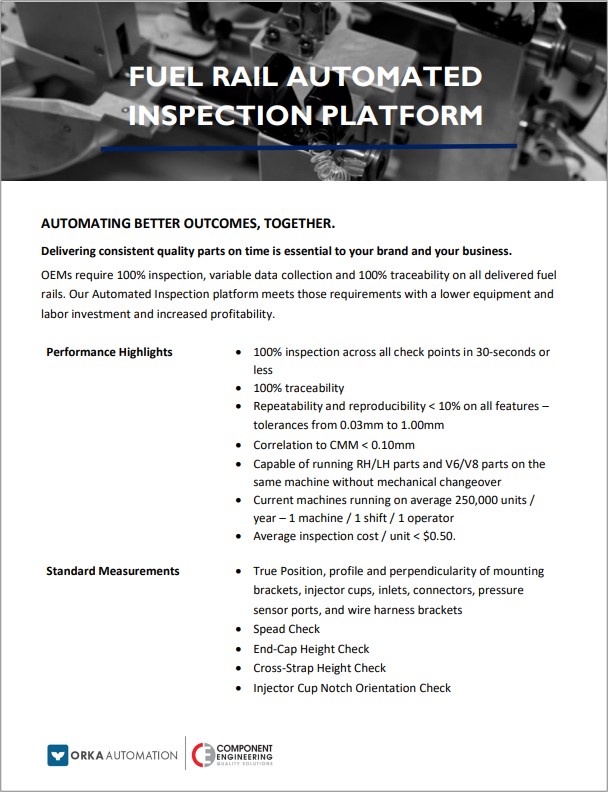
100% Inspection, Variable Data Collection, and Traceability, Delivered.
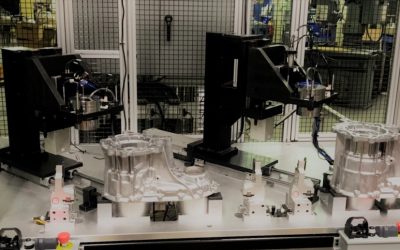
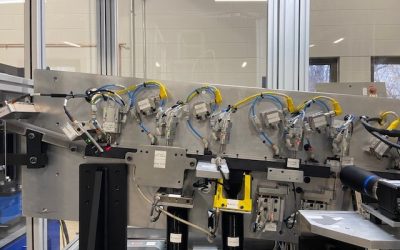
100% Inspection. Variable Data Collection. 100% Traceability. In today's automotive world, OEM's require 100% inspection, variable data collection and 100% traceability on many parts used in production. We have an OEM specified automated inspection solution that...
Why Is Quality Assurance So Difficult?
Sometimes manufacturers forget that there are two key components of Quality - parts AND people. This Quality Magazine article by guest blogger, Ian R Lazarus, summed things up so well, we felt compelled to share it. You can find the original post here. Quality - How...
I Spy With My Vision Eye
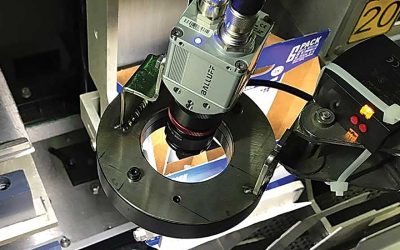
I Spy with My Vision Eye... Today we’re focusing on Vision Systems, one of the advanced technologies currently taking automated inspection into Industry 4.0. What It Is A manufacturing vision systems leverages cameras and lighting to inspect parts as they cycle...
A History of CMM’s
With so many advancements in metrology and dimensional measurement in manufacturing, I thought it might be interesting to take a look at the history of the technology to see how we’ve gotten to where we are today. Before We Start - What is a CMM? A CMM, or coordinate...
Data Collection + Real-Time Usage = Better Manufacturing Outputs
You’ve collected reams of data through your SPC (Statistical Process Control) system – now what? Many companies launch SPC within their manufacturing process because they think they should. Often how the data will be collected and used isn’t strategically thought out...
Is Quality Inspection During Production Really Necessary?
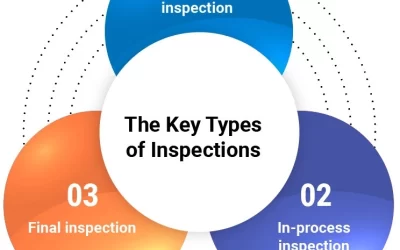
We can all agree that consistent quality is essential to keeping customers happy and brands strong. And while it might be tempting to only check parts at the end of the production cycle, you’re missing a key opportunity to get consistent quality parts out the door,...
The Evolution of Component Engineering
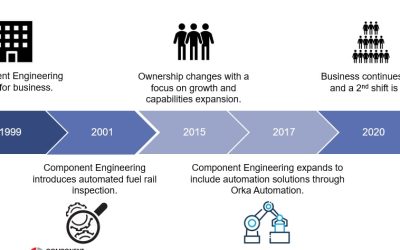
“Change is inevitable. Growth is a choice.” John C. Maxwell For over two decades, Component Engineering has helped customers deliver consistent, high quality parts. From simple to complex, manual to automated solutions, our business model and capabilities have...
CASE STUDIES
Delivering 100% Inspection, Traceability, and Packaging for a Medical Technology Company
CHALLENGE A global medical technology company, focused on women's health and wellness solutions, needed to validate that finished glass transponder parts met 100% of defined dimensional attributes and verification of seal quality, with traceability. SOLUTION Orka...
Multi-functional Inspection Ensures 100% Quality Parts
Network of fully automated quality check stations help customer meet 100% quality inspection objective. Challenge – A Tier-1 automotive supplier had several components that needed quality inspection, variable data collection and analysis, as well as remote support....
Proactive maintenance program minimizes manufacturing interruptions.
Proactive maintenance program minimizes manufacturing interruptions. Challenge – With multiple fixtures and gauges from multiple suppliers in use 24×7, this Tier-1 automotive supplier didn’t have time for quality inspections or production to halt due to...
Using Data to Identify Root-Cause and Justify Investment.
Using data to identify root-cause and justify investment. Challenge – A contract furniture manufacturer was experiencing a high rate of rejects for panel warping and length, and did not have a system in place to ensure panel flatness and capture variable data....
Air Gage Inspection Delivers 100% Inspection in under 60-Seconds.
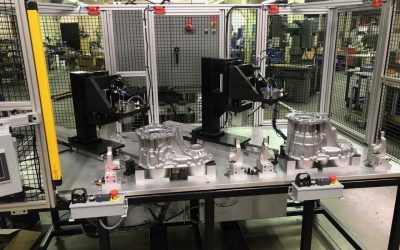
A large Midwest Die Cast company leverages Advanced Quality Inspection Technologies to verify multiple bore diameters, True Position of a critical hole location, and flatness of a mating surface to achieve 100% inspection in less than a 60-second cycle time. ...
DOCUMENTS
IMAGES
